Sunday, March 20, 2016

Canned Apple Sauce


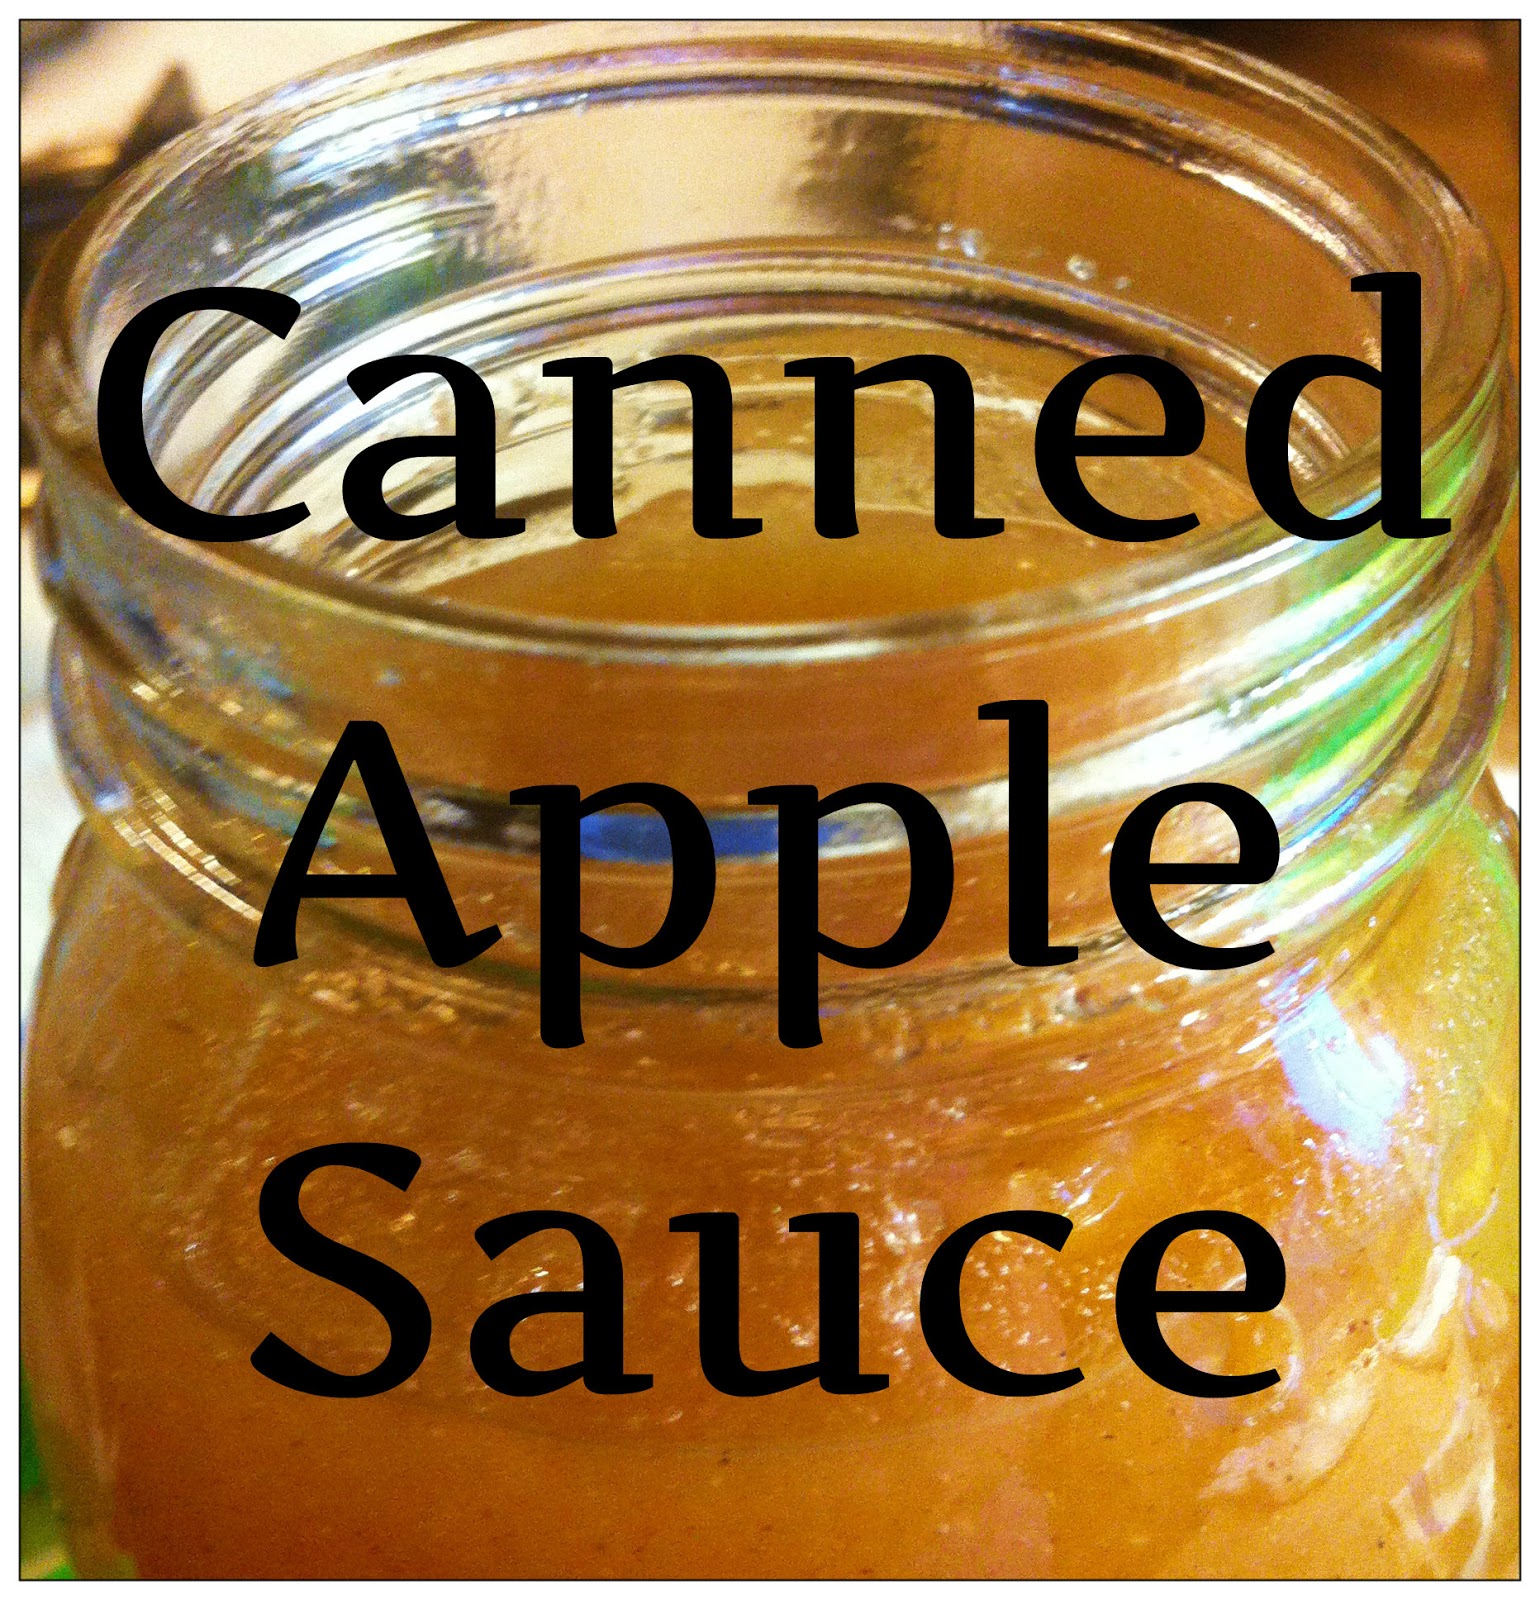
Good evening everyone! Sorry, this post is a smidgen late. I have been busy today! I got up early this morning and started in on the mini-mountain of apple with my mom. We made and canned good ole fashion applesauce. Just like Grandma used to make. This recipe is so simple, so flexible, and so yummy. Applesauce isn't just for babies, it is also a healthy alternative for when you want something sweet. In this article today, I am not only going to tell you how to make it, but I am going to show you how to can it!

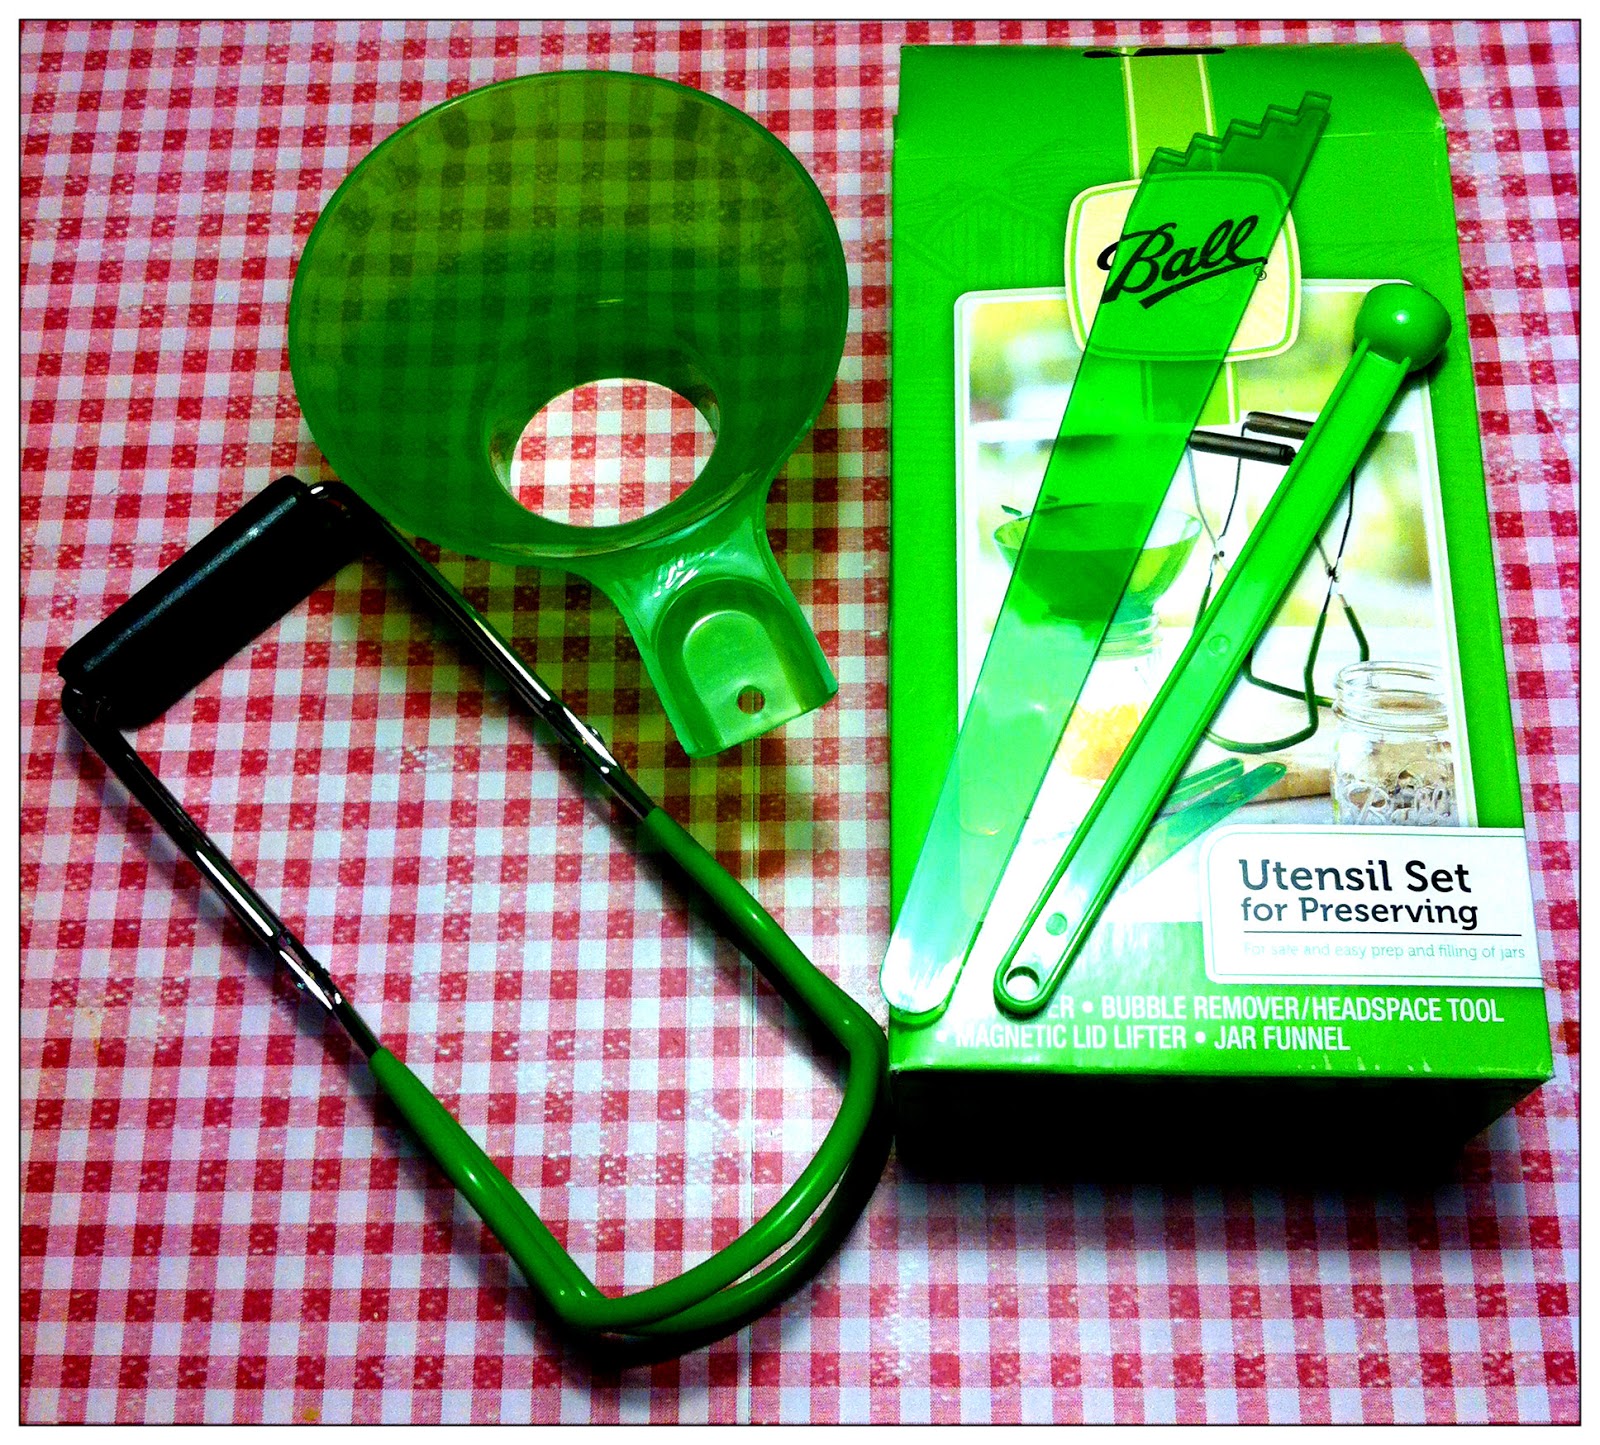
Please note that the details to the canning instructions are on a different article called Boiling Water Canning: Step by Step with Pictures. Please read that article before you start canning if you have never done it before! There are particular steps that going into canning that CANNOT be skipped or fudged on. Steps like sterilizing your jars, understanding times and altitude changes, as well as post canning-jar care. This is very important if you intend to can your applesauce, cause if not done correctly you can make yourself and your family very sick. Here is the link: Boiling Water Canning: Step by Step with Pictures.

Let's begin!

Ingredients


2 ½ to 3 ½ pounds of apples per quart
¼ Cup sugar per pound, or to taste
Ground Cinnamon, to taste

Directions


Wash and drain the apples before you start.

Core, peel, quarter, and then slice the quarts. You don’t necessarily have to core first. If you are like and don’t own an apple peeler, then you can take your potato peeler and peel the apples. Next, you can quarter them which will make it easier for you to cut the core out.


Place your apple slices into a large stockpot or saucepan (depends on how much you are doing) and put just enough water to keep them from sticking. The water shouldn’t cover the apples, because as the apples start to cook and break down their own juices come out.

Cover and cook the apples until they are soft (fork tender).

Next, you are going to want to purée (mash) the apples. You can do this in many ways and to varying degrees. You can use a food processor, a food mill, an immersion blender, or a good ole fashion potato masher. You also do not have to mash them completely if you like chunkier apple sauce.

Now comes the sugar. This step is optional and to taste. The standard is ¼ cup per pound but that is entirely up to you. We usually add more at our house cause we like our apple sauce super sweet. Just like the sugar, ground cinnamon is optional and to taste. You can also add nutmeg and/or allspice as well. It is very versatile and can be made to preference.

Photo Courtesy of Ball Blue Book
Bring apple sauce to boil and fill jars. Make sure to leave between 1 inch to ½ inch of headspace. Remember to remove the air bubbles, clean the jar rim and place the rings and lids on.

Photo Courtesy of Walmart.com


Process pints and quarts for 20 minutes in a boiling water canner. Don't start timing till the water is boiling. Also, you may have to adjust the time depending on your altitude. Please see the chart below. 

Photo Courtesy of Ball Blue Book
Once your time up, take the jars out of the water canner place them on a towel in a non-drafty area. Your jars should seal as they cool. Don't touch them! You will hear them pop. If you are like me and worry, you can listen and count the pops. Now they say you should let them sit untouched for 24 hours but I always check to see if they have sealed after about 2 hours. That way I can put it the unsealed jar(s) in the refrigerator so I can reprocess it later. Just give the lids a light touch to see if they are sealed or if they still spring up and down. For the rest of the post canning jar care please see my page on Boiling-Water Canning: Step By Step with Pictures.

I hope you enjoyed this article and the other one linked to it. If you have any questions or need more details please leave them in the comment section below and I will get back to you ASAP! 

Boiling Water Canning: Step by Step with Pictures


Here are my step by step instructions on Boiling-Water Canning. Just a case you are looking at other instructions or references the term water bath canning is interchangeable with boiling-water canning.

Please note that some of the pictures I use are from when I pressure-canned chicken broth. No you cannot boiling-water can chicken broth but a number of the steps are the same.  

Step 1: Get 7 quart jars check the rims for chips and wash them.


Step 2: Fill about half way up your 21-quart water bath canner (also called a boiling-water canner) and submerge your clean jars in it. Make sure you have about 1 inch of water above the rim of the jars

Step 3: Bring jars to a boil and boil for 10 minutes

Step 4: Meanwhile wash 7 rings, 7 new lids, and the utensils you are going to use.

Step 5: Set aside utensils to dry and place rings and lids into a large saucepan. Fill with water to about 1-2 inches above the rings. Boil for 10 minutes.


Once your all of your jars and lids are sterilized turn them on low. Next you are gonna want to set up your workstation. You will probably want to do it as close to your stove as you can. Cause you will be pulling jars/ lids out the pot, filling them, and putting them back into your water canner.

In the picture above are the canning tools I use. If you are not familiar with all of them or you don't have them, you can pick a set from just about anywhere (Walmart, Kmart, Ace Hardware, etc.) They around $10.00 and usually include at minimal: a jar funnel, jar lifter, magnetic lid lifter and bubble remover/headspace tool.

Step 7: Start filling your jars!

Make sure to leave about 1 inch to 1/2 inch of space from the rim of the jar. NEVER FILL THEM TO THE RIM. Because they will over boil and not seal. The headspace varies with the kind of food you are doing so please make sure to check or err on the side of caution and leave about an 1 inch.


Step 8: Remove any bubble by sticking your utensil down the inside edge of jar and adjusting the contents. Wipe the rim of each jar before put in the lid and ring. Place each finished jar into the water canner.


Step 9: Bring to a boil and time it. Please remember times vary with the food you are doing and the attitude you are at. So also check! Here is the attitude chart I use for my mom's Ball Blue Book.


Post canning jar care:


Step 1: After your time is up, take the jars out of the water canner place them on a towel in a non-drafty area. Your jars should seal as they cool. Don't touch them! You will hear them pop. If you are like me and worry, you can listen and count the pops. Now they say you should let them sit untouched for 24 hours but I always check to see if they have sealed after about 2 hours. That way I can put it the unsealed jar(s) in the refrigerator so I can reprocess it later. Just give the lids a light touch to see if they are sealed or if they still spring up and down. If they are not sealed place them in the refrigerator and reprocess them the next day. Remember though, that you will need a clean jar and brand-new lid. You can just reheat the same jar with the same lid.

Step 2: After the 24 hours are up you can remove the ring and give both the rings and the jars a nice washing. 


Step 3: Make sure the jars (especially the rims/lids) and rings are dry before you put the rings back on. Once they are dry though you can label them and put them up. I just write on the lid, but you can also get dissoluble labels. I find a permanent marker is cheaper.


Now as with any food on your shelf you have to periodically check them and rotate them out. You will also want to keep the jars in a cool, dry, dark place. You don't ever want them in direct sunlight. In fact, it is best to store the jars between 50 and 70 °F. You also don't want to store the jars near hot pipes, a range, a furnace, in an un-insulated attic. Under these conditions, the food will lose quality within a few weeks to months and may even spoil. Dampness is also an enemy of your jars. The dampness can cause the metal lids to corrode which break the seals, and allow contamination and  ultimately spoilage.

How long do the jars last? Well that is a question of great debate and one you will have to research and answer for yourself.  I will tell you, The National Center for Home Food Preservation says 1 year. Now does that mean the food automatically goes bad on day 366? I personally have eaten food that was canned 5 to 10 years prior. Does that mean it was safe? I am still alive and didn't get sick. I have known folks who ate canned food 20 or more years old. They believed as long as the jars and seals are undamaged the food was still good. With whatever you decide, please err on the side of caution, check the seals, exam the food, if you think there is any chance that it isn't good throw it. Food poisoning is no fun and very dangerous.  

Finally please remember that these are MY instructions for boiling water canning. Everybody does it a little different and while some people may be more or less strict, or use a different process, I encourage you to always do your research and have more then one reference. Read four or five different articles and if you have any doubt or questions consult The National Center for Home Food Preservation

Sunday, March 6, 2016

Homemade Angel Food Cake


Good morning everyone! Hope your Sunday is dryer than mine here in Montana. Today I am going to share with ya'll one of my most secret and most loved desserts. I got the recipe from a cookbook I inherited from my mother and tweaked a little. 

The beautiful thing about angel food cake is that it is so versatile and I don't know about you, but I have never met anyone who doesn't like it. You can put just about any kind of berry over it with whipped cream, you can pour milk over it, you can put ice cream and chocolate syrup over it, or you can just eat it plain. Here's the other beautiful part about it, it's low calorie. There are about 75 calories in one slice of this cake. Now with that being said, this cake makes 12 servings, so you have to get the proportions right. 

So here's to having your cake and eating it too!

Ingredients 


1 1/2 cups egg whites (10 to 12 large eggs)
1 1/2 cups sifted powdered sugar
1 cup sifted all-purpose flour (or cake flour, whichever you have on hand.)
1 1/2 teaspoons cream of tartar
1 teaspoon vanilla
1 cup sugar


Bring egg whites to room temperature.

Preheat your oven to 350 degrees.

Sift powdered sugar and flour together 3 times.


In a large bowl beat egg whites, cream of tartar, and vanilla with an electric mixer on medium speed till soft peaks form.  (Tips curl. It will almost look like a peep.)


Gradually add sugar about 1/4 cup at a time while beating till stiff peaks form. (Tips stand straight.)

Sift about 1/4 of the flour mixture over the beaten egg whites. Fold in gently. (DO NOT USE MIXER.) Repeat folding in the flour mixture by fourths


.

Photo courtesy Amazon.com 
Pour into an ungreased 10-inch tube pan, it is also called an Angel Food Cake pan, but do not use a bundt pan. They are not the same. You can get them just about anywhere for around $10-15.00. The one on the left is identical to the one I use. 

Bake on the bottom rack for 40 to 45 minutes. It will be golden brown and slightly pulled away from the sides at the top.  


Once done immediately invert cake (leave in pan) and let cool thoroughly. That is what the three little tabs are in the pan so it can cool. This step is essential if you want your cake to look good. It should pop right out once it is cool but if it doesn't, take a silverware (butter) knife and run it along the sides to loosen it.

Voila! You have a beautiful, low-calorie dessert that everyone is sure to love. 


Sunday, February 28, 2016

Homemade (Gluten-Free) Potato Soup


Good morning everyone! Hope your Sunday morning is more sunny and warm than mine is here in Northern Montana. Today I want to not only give you my Homemade (Gluten-Free) Potato Soup recipe, which I got from my mom, but I want to talk about an alternative cooking process that most people don't use. Pressure cooking with a Pressure Cooker, not it be confused with a Pressure Canner.

For those of you who may not know, a pressure cooker is an airtight pot in which food can be cooked quickly under steam pressure. You might be asking "Why get ANOTHER kitchen accessory when I can just boil in the pots I have?" By cooking the food quickly (with minimal water) under steam pressure, your food retains more of its nutrients, unlike when you boil it, where you are actually boiling the nutrients out as the food breaks down. In other words, The longer foods are cooked, the more nutrients goes into the water and inevitable down the drain. I personally find foods retain more of their taste as well. A couple bonus benefits to mention, pressure cooking saves time and energy resources. You can literally cook down tender veggies in 3 to 5 minutes or stew meat in 25 minutes.

Photo courtesy of Ace Hardware Site
If you want to try it out for yourself, you can pick one up at Walmart, Kmart, Target, I got mine at Ace Hardware for around $45.00. Mine is a 6 quart just like the one in the photo.

In the recipe below I will give you the directions on how to cook the veggies in a pressure cooker, but for those of you who may not have one...yet, I will give the instructions for traditional boiling as well.

Ingredients 

6 medium potatoes (doesn't matter whatever is on hand. Russets, Yukon golds, etc.)
1 onion, diced small
3 carrots, peeled and chopped small (or 1-1/2 of baby carrots chopped small, again whatever you have in hand)
5 cups chicken broth (canned, boxed or bullion, doesn't matter)
1/2 cup cornstarch
1 stick of butter
4 cups milk
2 cups shredded cheese (I use cheddar, but you could be adventurous try something different.)

Directions

(Pressure Cooker) Place your diced potatoes, carrots, and onion in your pressure cooker (make sure you have the cooking rack in the bottom before you put the veggies in.) Add 1 Cup of water and put the lid on. Now cooking time doesn't start till the pressure is built up, so don't start timing till the pressure regulator starts jiggling. Once it's jiggling turn it down to medium-low and time 5 minutes. After the 5 minutes is up, carefully pull the cooker off the stove and place it in your empty sink and run cold water over the top to cool it quickly. This next part is very important DO NOT REMOVE THE LID TILL THE PRESSURE HAS GONE COMPLETELY DOWN!  Mine has an air vent on the handle on the lid that goes up when under pressure and goes back down when the pressure is gone. Your's may be different, so PLEASE READ THE INSTRUCTIONS BEFORE USE! After you remove the lid drain and place in a large pot.

Right: Pressure Cooker Part Diagram -  Left: Cooking Rack

(Traditional Boiling) In a large pot, bring water, potatoes, carrots, and onion to a boil. Reduce heat, cover, and simmer for 20-30 minutes or until potatoes and carrots are tender. Then drain and put back in a large pot.

Meanwhile, in a medium saucepan, melt the butter, then whisk in the cornstarch.

Add the milk to the butter/cornstarch mixture and whisk together. Cook and stir until thickened and bubbly. It will start out thin but how you will know it's done is when it is the consistency of pudding.

Add cheddar cheese and stir until melted.
Pour cream base contents of medium saucepan into a large pot with your vegetables.

Heat thoroughly over medium heat, occasionally stirring, until ready to serve.

This recipe is very versatile, so you could always add some ham and/or corn and make it a chowder. You can basically swap and/or add whatever veggies you like to the cream base. I have added bacon before and let me tell you it is heavenly. Also if you want it to be a bit thicker add more cheese till you get the consistency. Like I usually add 3 or 4 cups of cheese, but mom likes it thinner, so she just adds 2 cups, which is more cost-effective. But who doesn't love super cheesy bacon potato soup!?

Also, one more thing to remember, this soup is GLUTEN-FREE! There is no flour in the base. It is thickened with cornstarch. Which makes it a good soup for anyone like my mom who can't eat gluten.

Sunday, February 21, 2016

Hearty Stuffed Tomatoes


Good morning everyone! Hope ya'll are having a warmer day than I am here in Montana. It has been pretty snowy and rainy here for the past week, so yesterday I decided to veer from my weekly menu and make the family a "comfort food" type meal. Hearty Stuffed Tomatoes! They are actually very simple, very easy, and super tasty. One thing I want to mention before you start if you have say a family of four just half the recipe. This recipe as it is right now feeds my family of seven.

Ingredients

8-10 medium-to-large tomatoes
½ pound ground beef
1 cup breadcrumbs (can be plain, panko, whatever you have on hand)
1 cup parmesan cheese (whichever type you have on hand)
1 cup grated mozzarella cheese
2 cups cottage cheese (or ricotta, whatever you have on hand)
½ teaspoon kosher salt
¼ teaspoon freshly ground black pepper
½ teaspoon dry oregano
3 tablespoons olive oil

Instructions

Preheat oven to 450 degrees. Line a small pan with foil and spray with non-stick spray. Set aside.

Cut the tops of the tomatoes off and scoop out the insides. You can eat or discard the insides because you will not need them. They should look like little tomato bowls. Place the tomatoes upside down on paper towels. This way they can drain and dry a little, I find it helps them bake better if they aren't so wet.

Brown your hamburger and drain it.


In a medium bowl mix hamburger, breadcrumbs, all cheese, all spices, and olive oil. Basically ALL ingredients EXCEPT tomatoes.

Next, Invert the tomatoes and place on your prepared pan.

Now start filling the tomatoes. You want to kind of pack the mixture into the tomato bowls. Press down gently.

If you have any extra cheese, you can sprinkle it over the tops.

Place uncovered in the oven for 15 to 20 minutes or until golden brown and just slightly soft on the outside of tomato. Because tomato sizes vary and cooking time may be plus or minus five minutes.


Told you they were pretty easy and delicious!