
Barefoot Country Cooking is moving to a new home!
Yes! Barefoot Country Cooking is not only getting a new home but a new look and fresh new content.
Here is the link. https://barefootcountrycooking.wordpress.com/
Can't wait to see you there!

 Chop raw chicken and cook in a skillet. Season to taste with garlic and onion powder, and pepper. (There are two ways to do this. 1. In water, which will produce a softer and more tender chicken, making it easier to eat, if you have picky people who want that. 2. Or sauté in oil which will produce a golden brown crust on the outside of your chicken and will give you a more chewer, more flavorful result.)
1. Avoid Caffeine, Alcohol, and Nicotine.
Avoid, or at least reduce your consumption of, nicotine and all drinks containing caffeine and alcohol. Caffeine, alcohol and nicotine are stimulants and so will increase your level of stress rather than reduce it.
2. Indulge in Physical Activity
Stressful situations increase the level of stress hormones such as adrenaline and cortisol in your body.
3. Get More Sleep
A lack of sleep is a significant cause of stress. Unfortunately though, stress also interrupts our sleep as thoughts keep whirling through our heads, stopping us from relaxing enough to fall asleep.
4. Try Relaxation Techniques
Each day, try to relax with a stress reduction technique. There are many tried and tested ways to reduce stress so try a few and see what works best for you.
5. Talk to Someone
Just talking to someone about how you feel can be helpful. Talking can work by either distracting you from your stressful thoughts or releasing some of the built-up tension by discussing it.
6. Keep a Stress Diary
Keeping a stress diary for a few weeks is an effective stress management tool as it will help you become more aware of the situations which cause you to become stressed.
7. Take Control
Stress can be triggered by a problem that may on the surface seem impossible to solve. Learning how to find solutions to your problems will help you feel more in control thereby lowering your level of stress.
8. Manage Your Time
At times, we all feel overburdened by our 'To Do' list and this is a common cause of stress. Accept that you can not do everything at once and start to prioritize and diary your tasks.
9. Learn to Say ‘No’
A common cause of stress is having too much to do and too little time in which to do it. And yet in this situation, many people will still agree to take on additional responsibility. Learning to say “No” to additional or unimportant requests will help to reduce your level of stress, and may also help you develop more self-confidence.
10. Rest If You Are Ill
If you are feeling unwell, do not feel that you have to carry on regardless. A short spell of rest will enable the body to recover faster.
So till next time, Remember to take it easy cause cause very few things in life are worth killing yourself over. The sooner you learn the difference the happier you'll be!


 |
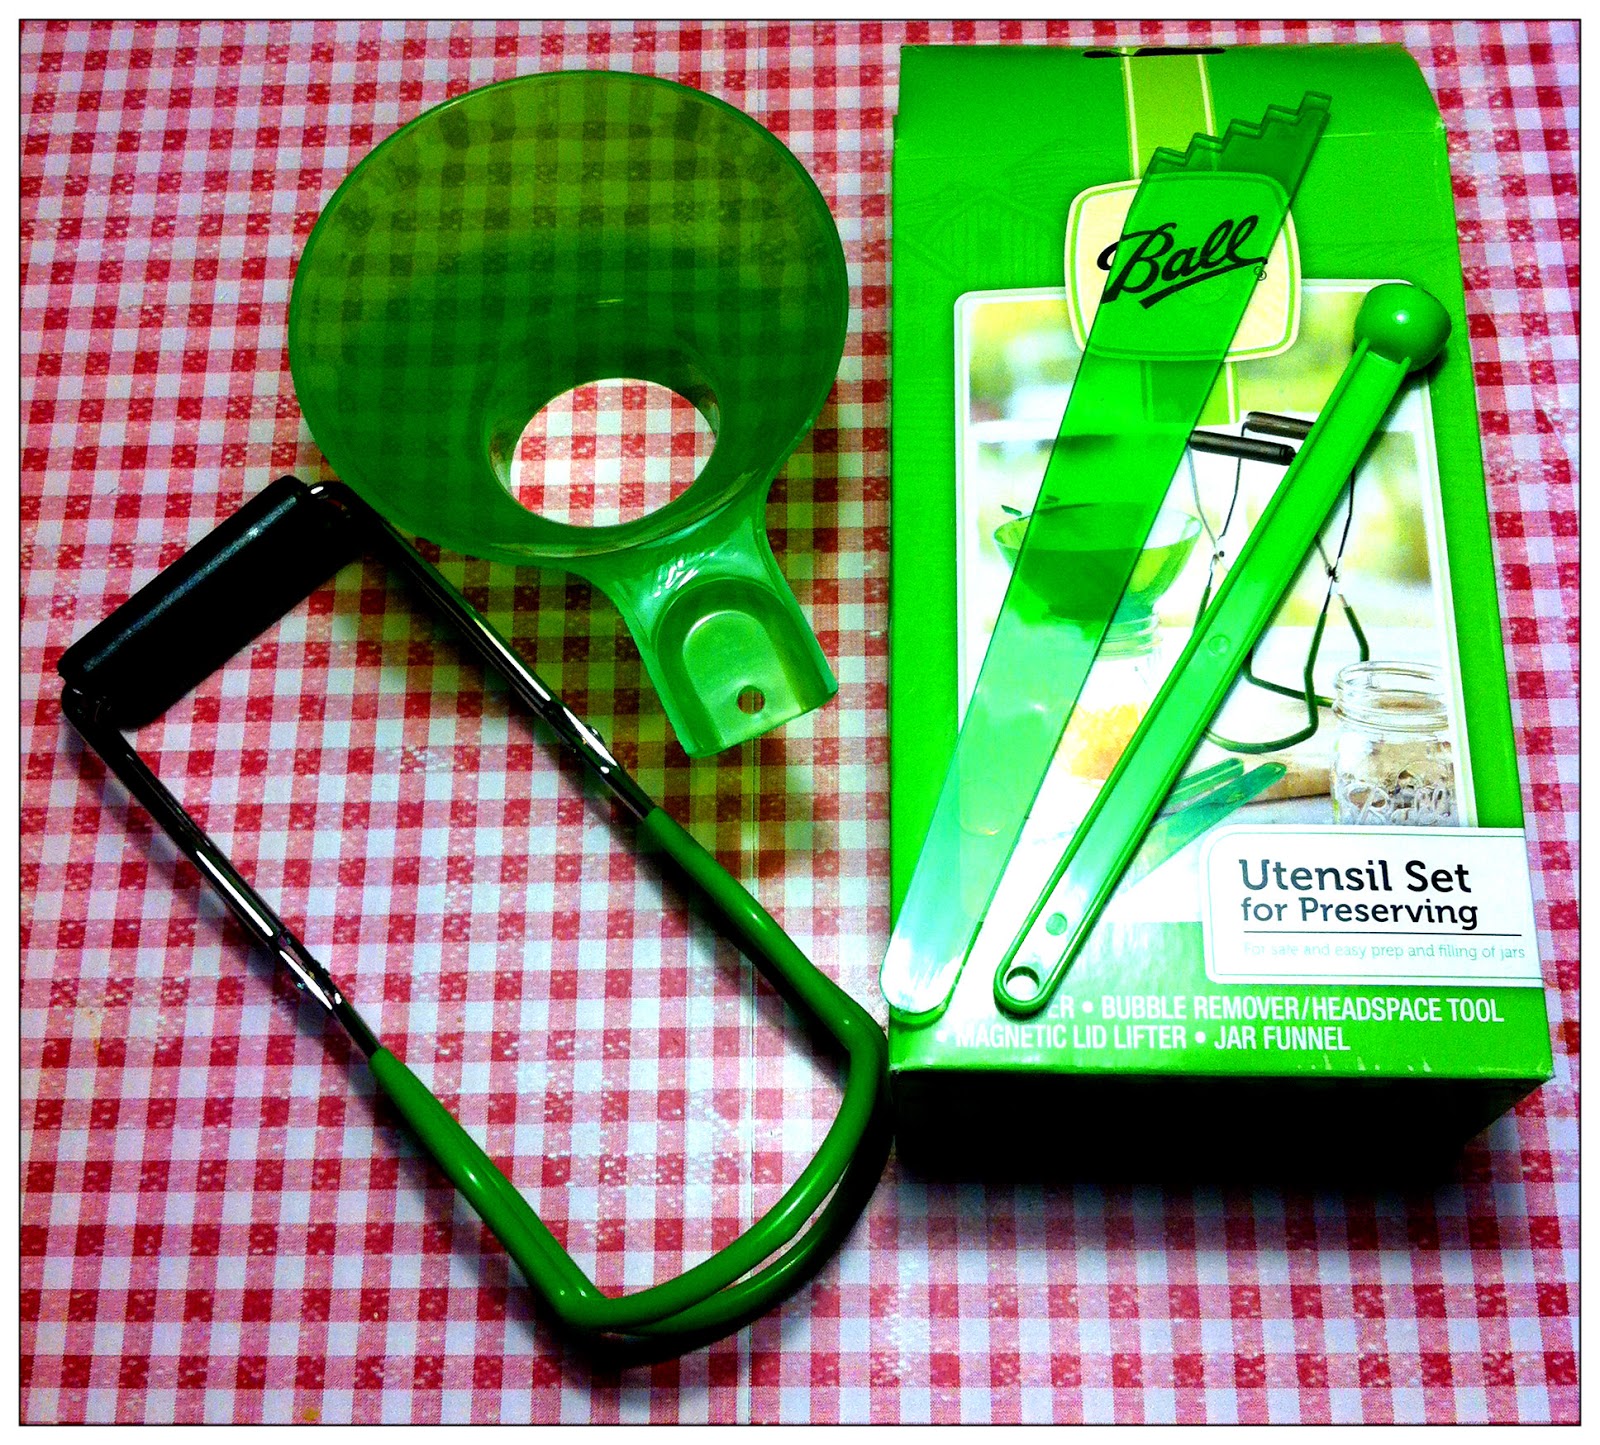
| Photo Courtesy of Ball Blue Book |
 |
| Photo Courtesy of Walmart.com |
 |
| Photo Courtesy of Ball Blue Book |


 |
| Photo courtesy Amazon.com |


